How to Make a Stacked Crochet Necklace
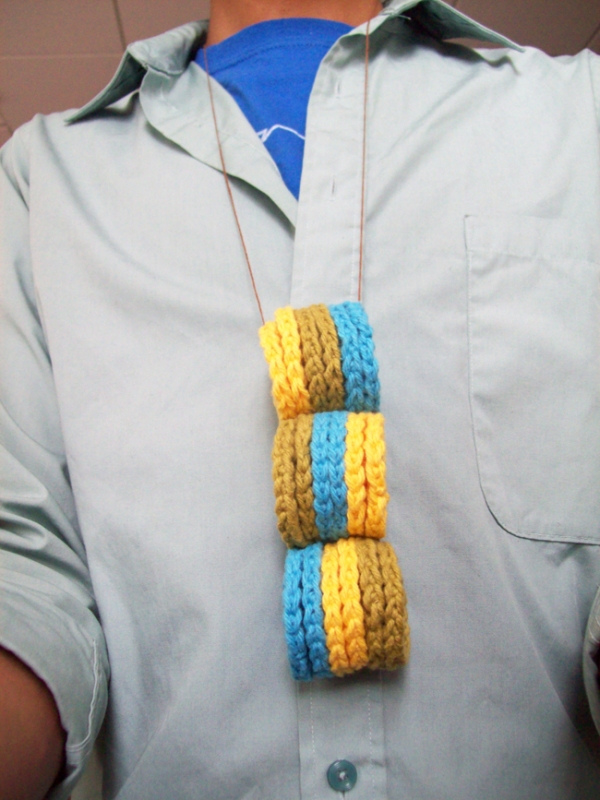
In a previous post, I gave instructions on how to make crocheted rounds. A great way to reinforce this skill is by making a Circled and Stacked Necklace, which is basically a series of crocheted rounds stacked on top of each other with thread. This is a really neat and easy necklace that can certainly be made in a weekend or a single day off!
Also, check out the finished version(s) in my Etsy shop :)
Materials:
- Crochet Hook (I used size USJ10/ 6.00 mm)
- Yarn, preferably cotton. I also used a bit of butcher’s twine.
- Large-eye embroidery needle (choose one that is large enough for your yarn).
- Thread (I used waxed bookbinding thread, but discovered that waxed cotton thread works a bit better).

First, follow the instructions on making crocheted rounds (see here for pictures):
Chain 6, then join beginning of chain with a slip stitch.
Chain 2, then double-crochet (DC) in 1st loop. 2 DC in each loop* Repeat until you reach the end. Join with a slip stitch.
Chain 2, DC in 1st stitch. 2 DC in following stitch, then 1 DC in next stitch, and 2 DC in following stitch* Repeat until you reach the end. Join with a slip stitch.
Tie off and weave in ends.
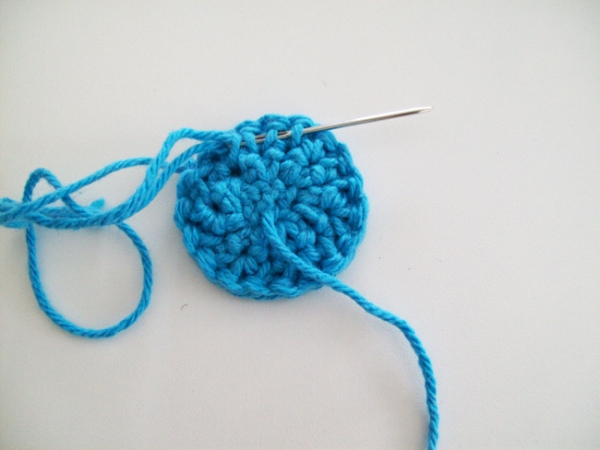
Weave the ends in the back of your circle.
You can make as many of these rounds as you’d like for your necklace. In the one pictured above, I made a total of 18.
To make your necklace:
- Insert your waxed thread through the embroidery needle. Make sure to cut a large piece of thread (at least 1-2 yards) so you can have a lot to work with. Do not tie a knot at the end.
- Grab your first stack of crocheted rounds and insert your needle through the middle hole of each round.
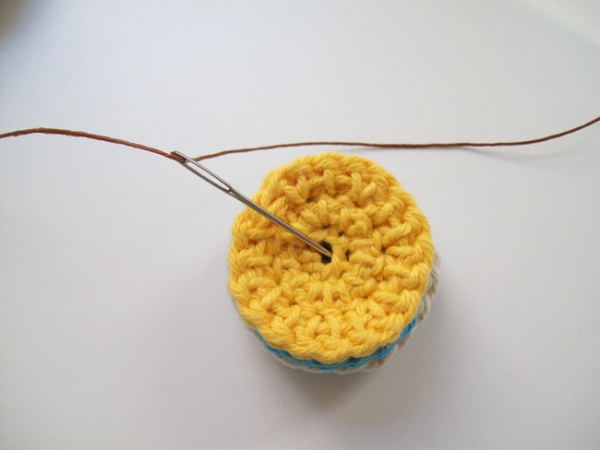
- Pull your thread through so that at least of half of the thread is on either side (meaning both sides of your rounds should have similar lengths of thread).

- Weave your thread through the last round (the round nearest your needle) until it reaches the top.
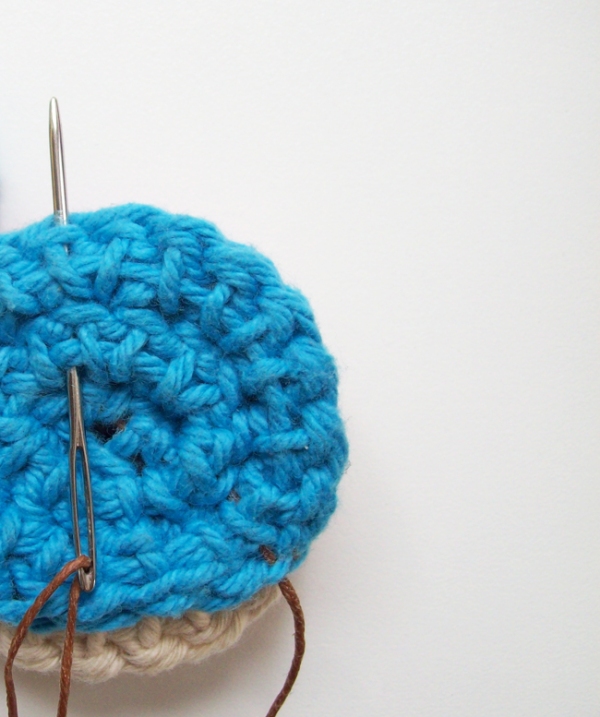
- Then, weave through the top of all the rounds.
- Remove your needle from the thread, then insert the thread on the opposite end of your stacked circle. Weave your thread through the round nearest it, until it reaches the top.
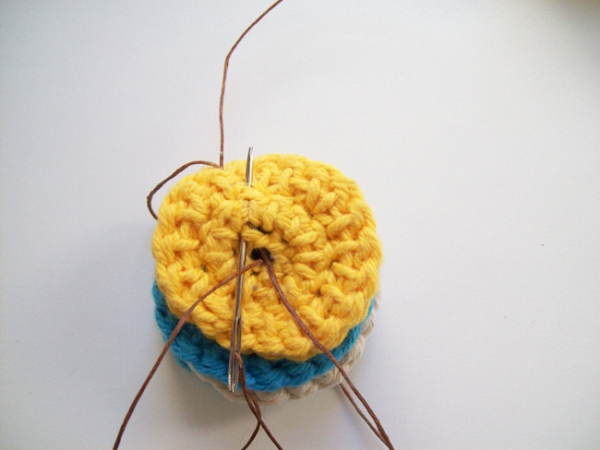
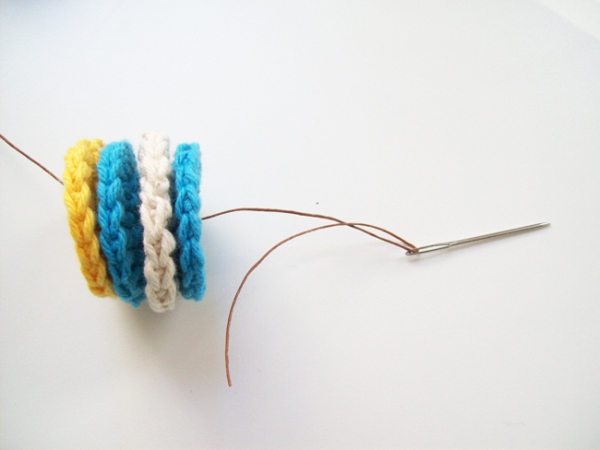
- Take your next stack of rounds and insert your needle through the middle holes of each one, just like you did with the first stack.

- Weave your needle through the round nearest it, so that it comes out of the top. Then weave it through the top loops of the stack until it comes out the opposite end.
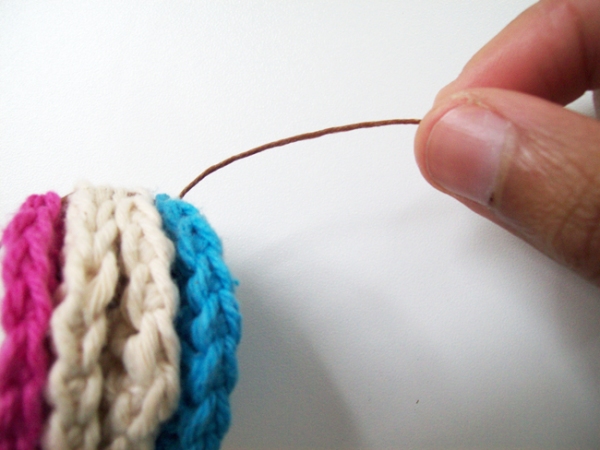
- Switch your needle to the opposite thread, then weave your needle through the bottom of your top stack. Then, weave it back through the top of your bottom stack in order to secure both stacks together.

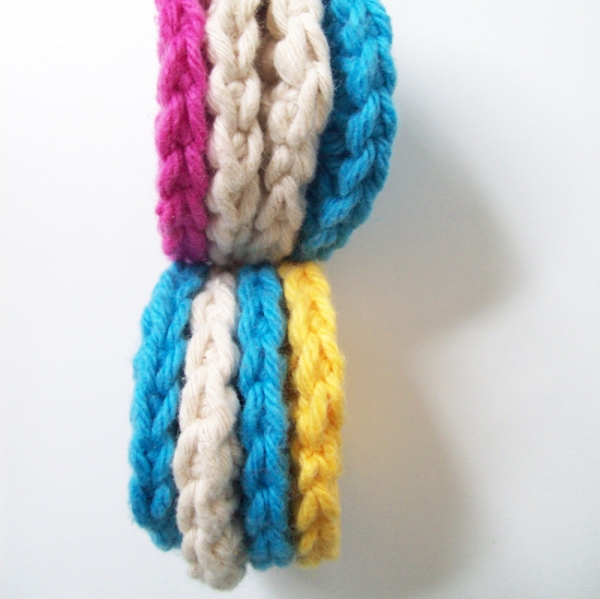
- Weave your thread through the top crochet round nearest it, until it reaches the surface. Skip the first loop of the first round, then weave through the top loops of all of the crochet rounds in that stack, in order for it to come out the opposite end.

- Connect your thread ends with a knot, and cut off any excess.
 You now have a super cute Circle and Stacked Necklace!




i love love ur blog and ur tutorials!
Thank you so much Kelly! I’m glad you enjoy them :)
Stay tuned, ’cause there will be a lot more to come!
– David
Wow, that is so creative! What a fun conversation piece. I just clicked over from WhipUp and I would love to link to this in my next Crochet Roundup. Off to explore the rest of your blog…
Hi Rachel,
Thank you! It’s so much fun to wear, too :) Please feel free to link it to your next Crochet Roundup, and do send me the link when you do!
Enjoy,
David
David,
These are fresh to death! I have some gold and silver lame yarn that is going to be used for this now…